Sonerezh
A self-hosted, web-based application to stream your music, everywhere.
Overview
Sonerezh is a self-hosted, web-based audio streaming application allowing you to access your music from anywhere, using your favorite web browser.
Automatic import
Tell Sonerezh where your music is stored and that's all. It will parse and extract the metadata of each files to built its own database. We currently support MP3 and MP4, OGG/Vorbis (.ogg and .flac) files.
Beautiful Web-UI
Browse you favorite music through several beautiful views, sort your collection by band, album, date, etc.
2-clicks installation
Sonerezh is easy to install thanks to its automatic deployment tool. No headaches with configuration files.
Installation
Sonerezh is quite easy to install. All you need is:
- A web server (Apache2, Nginx...)
- PHP, with the following modules enabled:
php-mysqlandphp-gd(withexif.so) - A database (MySQL or MariaDB)
- Optionally
avconvorffmpegif you plan to use the conversion tool
Note
This documentation will NOT cover the installation of NGINX or PHP. A lot of tutorials are already available on the web.
However, configuration samples are available for NGINX or Apache.
Get the latest stable release
The releases are published on GitHub, but you should download the latest stable release from sonerezh.bzh.
# Replace tar.gz with zip if needed.
$ wget https://www.sonerezh.bzh/downloads/latest.tar.gz
$ tar -zxf latest.tar.gz
Prepare the database
The database must be created before you access Sonerezh for the first time. A simple setup could be:
$ mysql -u root -p
mysql> CREATE DATABASE sonerezh;
mysql> GRANT ALL PRIVILEGES ON sonerezh.* TO 'sonerezh'@'localhost' IDENTIFIED BY '<changeme>';
mysql> FLUSH PRIVILEGES;
exit;
Where <changeme> is the password used by the MySQL user.
Getting started
You may want to allow the web server system account to read this directory.
Usually its www-data.
$ sudo chown -R www-data: sonerezh
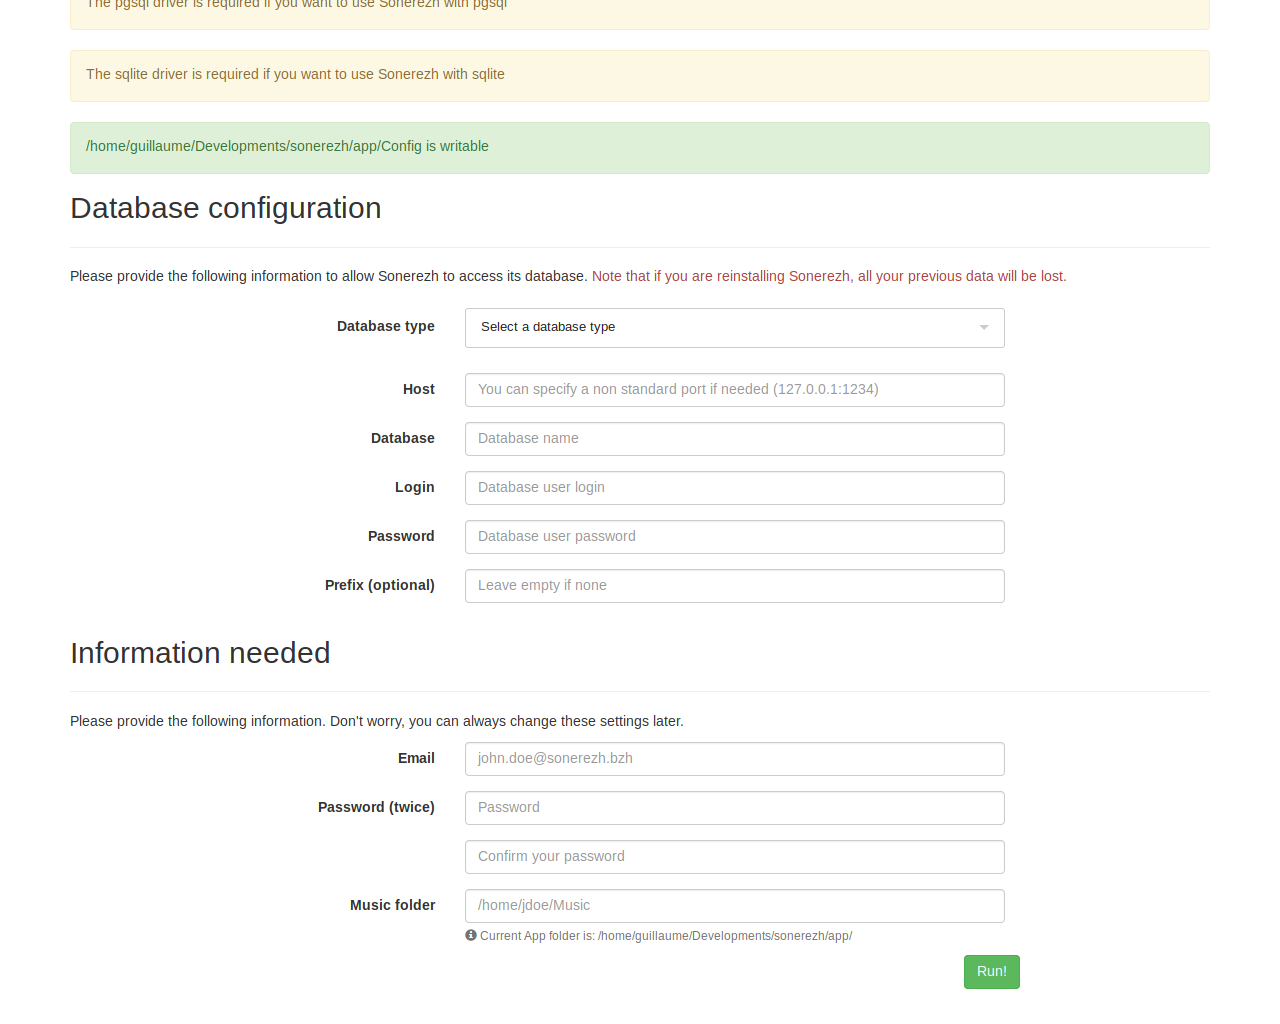
Now you can go to http://127.0.0.1/install (or whatever configured domain
name) to set the database settings and create the first user.
If all goes well you should be redirected to the login page.